Learn how to make your website navigation stand out with Flatsome’s Header Builder! This guide walks you through setting up a customized, user-friendly header that will enhance the look and functionality of your site.
Step-by-Step Guide
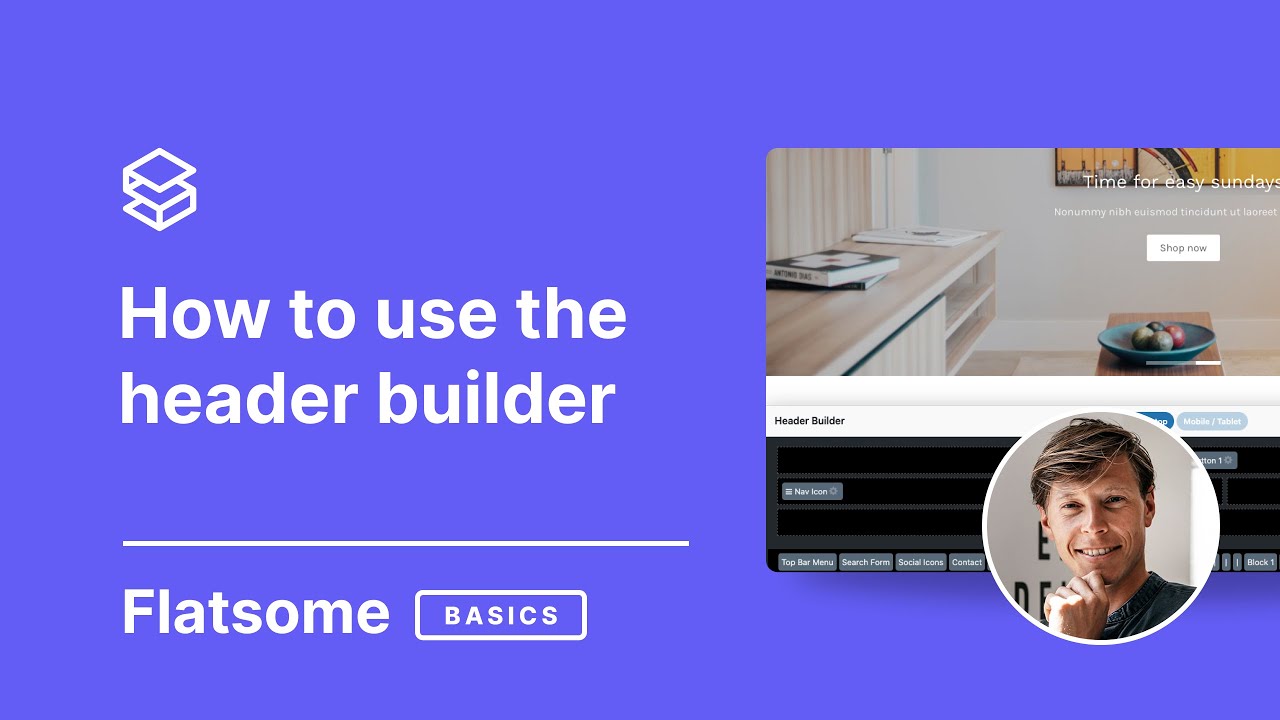
1. Accessing the Header Builder
- Go to Flatsome Theme Options > Header to open the Header Builder.
- You’ll see options for Desktop, Mobile/Tablet Views, and various presets to customize the header layout.
2. Clearing and Starting Fresh
- To begin with a clean slate, click Clear All. This removes any pre-set components, giving you full control to drag-and-drop elements as needed.
3. Setting Up the Top Bar
- The Top Bar is an optional layer above the main header where you can display useful info like free shipping offers or contact details.
- Drag the HTML element into the Top Bar and click Settings to add text (e.g., “Free Shipping on orders over $20”).
4. Adding E-commerce Components
- If you’re using WooCommerce, ensure the plugin is activated to access components like Cart and My Account.
- Once WooCommerce is active, refresh the Header Builder to see these elements display correctly in the layout.
5. Organizing Main Header Elements
- Add elements such as Logo, Main Menu, and Search for easy navigation.
- To create a menu, go to WordPress Dashboard > Appearance > Menus. Build your menu and assign it to the Main Menu location in Flatsome.
6. Customizing Social Icons
- Drag Social Icons into your header and click on Settings to add or remove platforms like Facebook, Pinterest, etc.
- You can place icons anywhere in the header for a balanced layout.
7. Using the Toolbar Menu
- Flatsome allows for a secondary Toolbar Menu. Assign this in the Theme Options for links like Customer Support or Info Pages.
- Add items in the WordPress Menus section and assign the menu to Toolbar Menu.
8. Enhancing Header with Separators
- Add Separators to space out elements, which improves readability and aesthetics.
9. Adding Call-to-Action Buttons
- Use Button Components to add standout links, such as “Sign Up” or “Contact Us.”
- Customize the button style by clicking on the settings gear, and assign each button a link.
10. Including UX Blocks for Custom Content
- Add custom content blocks using UX Blocks in the Header Builder.
- Create a UX Block under Flatsome > UX Blocks, then assign it to the header for personalized messaging.
11. Customizing for Mobile & Tablet
- Switch to the Mobile/Tablet View in the Header Builder to simplify the layout for smaller screens.
- Typically, only essentials like Logo, Nav Icon, Cart, and a simple HTML Message are needed for a cleaner look on mobile devices.
12. Preview and Publish
- After setting up, preview your site on both desktop and mobile views.
- Save and publish your header to see it live on your site!
Your header is now set up in Flatsome, with all essential elements in place to provide a smooth user experience. For more tips on using Flatsome and WooCommerce, check out our other tutorials.
Block "10368" not found